内网穿透原理架构
本文中,我们使用了frp,frp 是一个专注于内网穿透的高性能的反向代理应用。
todo: 补充流程图。
服务端(云主机) nginx 添加 Http 服务
首先将域名控制台(本文中使用 frp.muyunyun.cn 域名作为演示)解析到服务器 ip。
为了方面后续的调试运行,需放开以下几个服务器端口。
- 80 端口:(Nginx 接收 http 请求用)
- 6000 端口:(转发映射 SSH 服务用)
- 8080 端口:(转发映射 http 服务用)
- 7000 端口:(服务器端 frps 运行端口)
以配置域名 frp.muyunyun.cn 为例,,转发对 frp.muyunyun.cn 域名请求到 8080 端口。
参考 nginx 常用命令安装 Nginx。
新建配置文件:
touch /etc/nginx/conf.d/frp.muyunyun.cn.conf
在配置文件中添加 http 服务相关内容:
server {server_name frp.muyunyun.cn;listen 80;listen [::]:80;root /usr/share/nginx/html/frp.muyunyun.cn;location / {# 这里先预留 8080 端口,在后文章节[基于树莓派搭建家庭服务器](https://muyunyun.cn/blog/r4zxdn6n) 中会在 8080 端口上启动 Web 服务。proxy_pass http://127.0.0.1:8080;proxy_set_header Host $host:80;proxy_set_header X-Real-IP $remote_addr;proxy_set_header X-Forwarded-For $proxy_add_x_forwarded_for;}error_page 404 /404.html;location = /40x.html {}error_page 500 502 503 504 /50x.html;location = /50x.html {}}# 以下配置用于 Https, 若读者后续有配置 Https 的需求时可再折回参考如下配置,参考 [HTTPS 协议配置](https://muyunyun.cn/blog/mx5pvgl1)。server {listen 443 ssl http2;listen [::]:443 ssl http2;server_name frp.muyunyun.cn;root /usr/share/nginx/html/frp.muyunyun.cn;location / {proxy_pass http://127.0.0.1:8080;proxy_set_header Host $host:443;proxy_set_header X-Real-IP $remote_addr;proxy_set_header X-Forwarded-For $proxy_add_x_forwarded_for;}ssl_certificate "/etc/nginx/ssl/frp.muyunyun.cn/fullchain.cer";ssl_certificate_key "/etc/nginx/ssl/frp.muyunyun.cn/frp.muyunyun.cn.key";ssl_session_cache shared:SSL:1m;ssl_session_timeout 10m;ssl_ciphers HIGH:!aNULL:!MD5;ssl_prefer_server_ciphers on;# Load configuration files for the default server block.include /etc/nginx/default.d/*.conf;error_page 404 /404.html;location = /40x.html {}error_page 500 502 503 504 /50x.html;location = /50x.html {}}
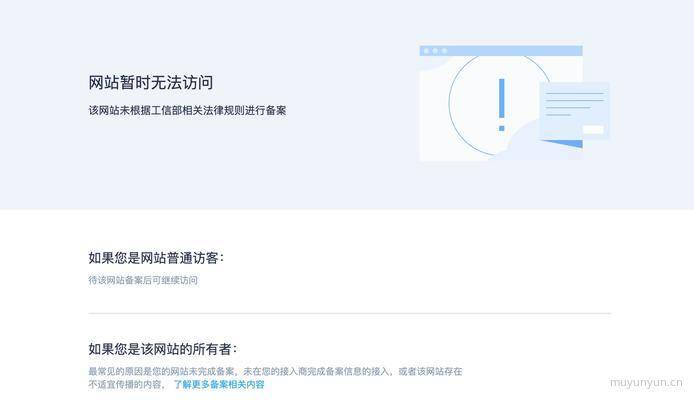
端口使用 80 页面会提示
网站暂时无法访问,该网站未根据工信部相关法律规则进行备案(与二级域名无关,比如使用 www.muyunyun.cn 或者 frp.muyunyun.cn 都行),了解更多备案相关内容。如果未备案,可以将它修改 80 端口为其它端口,比如 90 端口。如果后续要使用 acme.sh 申请 https 服务,还是需要用 80 端口。

新建 frp.muyunyun.cn 对应的网站文件夹与文件
mkdir -p /usr/share/nginx/html/frp.muyunyun.cntouch /usr/share/nginx/html/frp.muyunyun.cn/index.html
在 /usr/share/nginx/html/fpr.muyunyun.cn/index.html 中输入
<!DOCTYPE html><html lang="en"><head><meta charset="UTF-8"><meta http-equiv="X-UA-Compatible" content="IE=edge"><meta name="viewport" content="width=device-width, initial-scale=1.0"><title>云随风</title></head><body>Test</body></html>
控制台输入 sudo systemctl restart nginx。
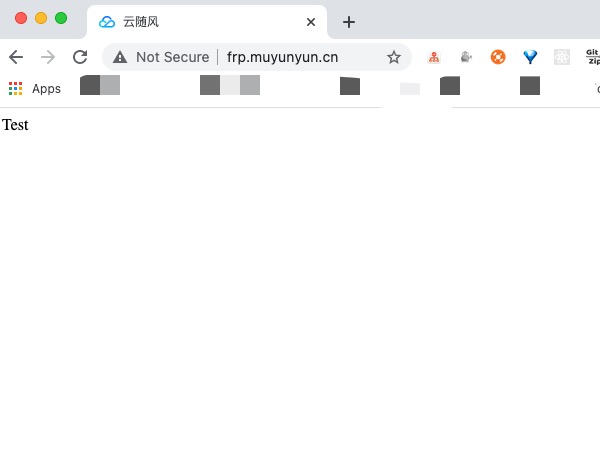
此时在浏览器访问 http://frp.muyunyun.cn 可以看到目标内容:

frp
服务端(云主机)配置
在云主机端执行如下命令:
cd /opt/sudo wget https://github.com/fatedier/frp/releases/download/v0.37.0/frp_0.37.0_linux_386.tar.gzsudo tar zxvf frp_0.37.0_linux_386.tar.gz
进入 /opt/frp_0.37.0_linux_arm64

备份服务端 frps 的配置文件 frps.ini
sudo cp frps.ini frps.ini_backup
修改服务端配置文件 frps.ini,增加一行 vhost_http_port = 8080:
[common]bind_port = 7000+ vhost_http_port = 8080
以上配置含义为: 服务端 frps 程序运行在 7000 端口,并将指向 8080 端口的请求转发到客户端。
运行如下命令,开启 frp 的服务端程序
./frps -c frps.ini

进一步地使用 pm2 运行 frps
安装 node 环境
全局安装 pm2
npm i pm2 -g
使用 pm2 守护运行 frps 服务
sudo echo "/opt/frp_0.37.0_linux_386/frps -c /opt/frp_0.37.0_linux_386/frps.ini" > /opt/frp_0.37.0_linux_386/start_frpc.shpm2 start /opt/frp_0.37.0_linux_386/start_frps.shpm2 save

客户端(树莓派)配置
在树莓派内执行以下命令,下载 frp,并解压。
cd /opt/sudo wget https://github.com/fatedier/frp/releases/download/v0.37.0/frp_0.37.0_linux_arm64.tar.gzsudo tar zxvf frp_0.37.0_linux_arm64.tar.gz
进入 /opt/frp_0.37.0_linux_arm64
备份客户端 frpc 的配置文件 frpc.ini
sudo cp frpc.ini frpc.ini_backup
frpc.ini 文件备份如下:
[common]server_addr = 127.0.0.1server_port = 7000[ssh]type = tcplocal_ip = 127.0.0.1local_port = 22remiote_port = 6000
编辑 frpc.ini:
sudo vim frpc.ini
[common]server_addr = 81.69.252.246server_port = 7000[web]type = httplocal_port = 8080custom_domains = frp.muyunyun.cn
启动客户端
./frpc -c frpc.ini
接着从公网访问 frp.muyunyun.cn,验证内网穿透是否成功。

可以看到来自公网的请求在树莓派的 frp 客户端已经有了反应,接着我们在树莓派搭建一个简单服务。
进一步地,可以参考 基于树莓派搭建家庭服务器。
添加 SSH 服务
[ssh]type = tcplocal_ip = 127.0.0.1local_port = 22remote_port = 6000
如上配置是指将树莓派的默认 ssh 的 22 号端口映射到 frp.muyunyun.cn 的 6000 端口。
重启 frpc 服务:
cd /opt/frp_0.37.0_linux_arm64pm2 restart start_frpc.sh
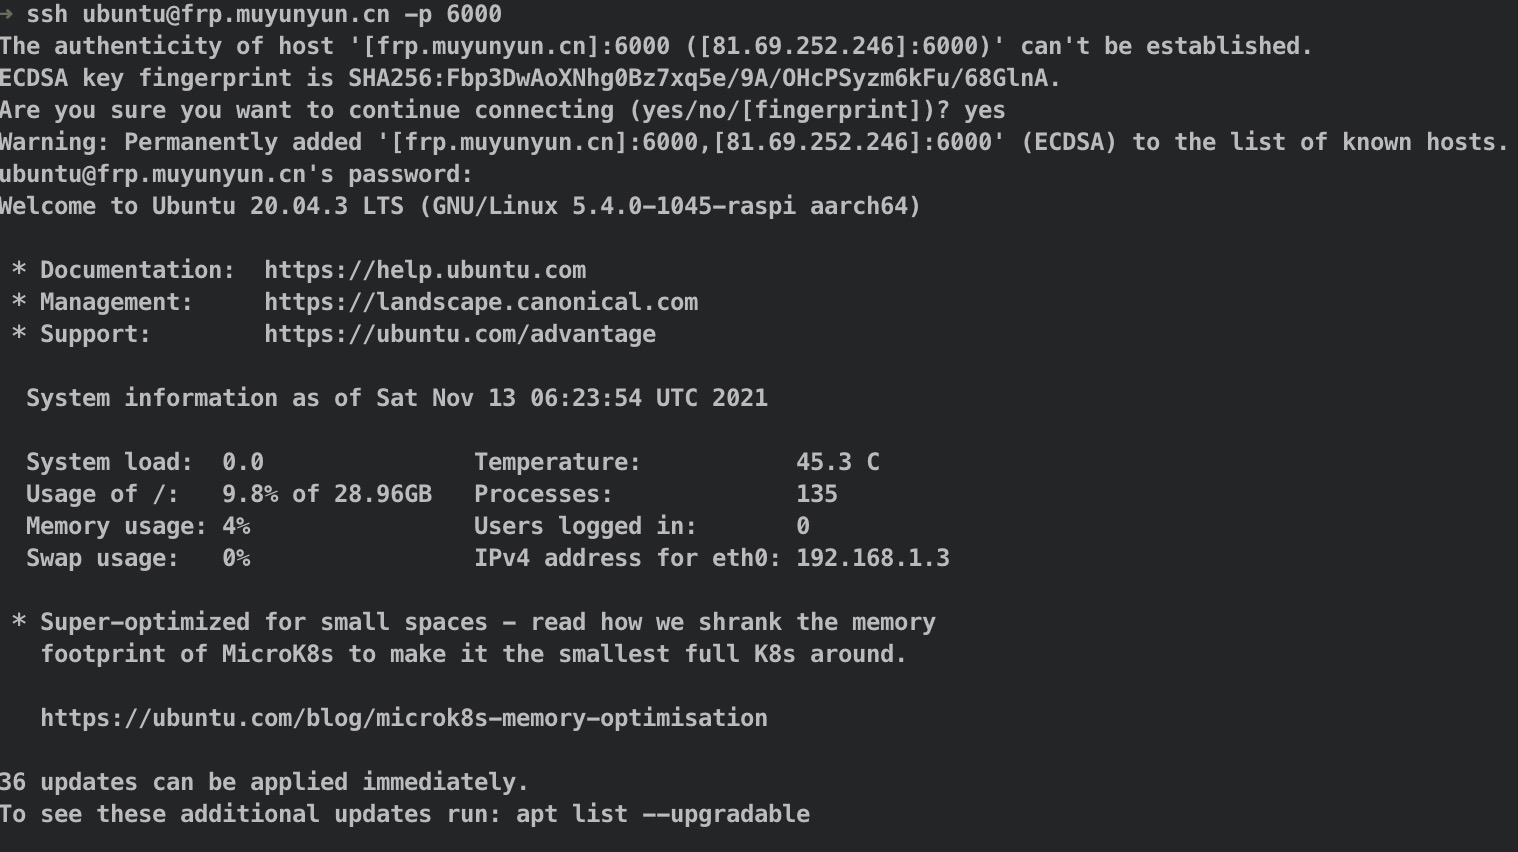
通过公网 frp.muyunyun.cn 的 6000 端口进行 ssh 登录。
ssh ubuntu@frp.muyunyun.cn -p 6000

至此实现了在公网使用 SSH 操作访问树莓派的需求。